Once in a while, ClaimMaster will not correctly identify the claim region or claim dependencies in the Word document, which could interfere with claim parsing or lead to false positives during error checking. These claim identification problems could be a result of missing document headers, document formatting, or other problems. If you encounter such claim parsing problems, here are a few steps that could be used to resolve them.
1. Configure Boundaries for the Claim Region
You can fine-tune ClaimMaster’s claim parsing to your internal document structure by having it parse only the text region which contains claims. Doing this will cut down on the number of parsing errors and also improves the parsing speed, because the software does not need to search through the entire document to identify the claims.
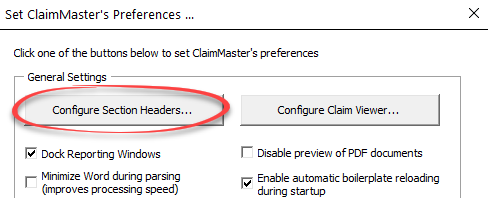
To configure replacement fields in ClaimMaster, click on the Preferences menu, then Configure Section Headers:
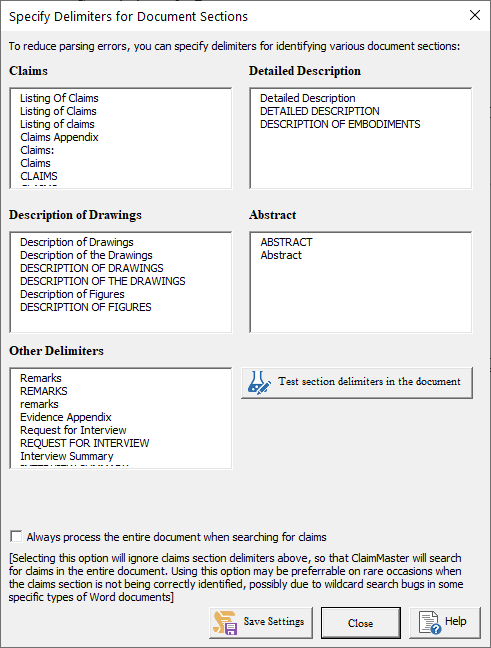
This will bring up a window that lets you specify keyword delimiters that indicate the beginnings of various document sections. Note – the keywords are case sensitive. When ClaimMaster will search for claims in your document, it will first search for the claim section between the specified sections. If it finds a claim region (e.g., between the Claims and Abstact sections), it will only parse claims from within that claim section. You can play around with headings and test the combinations directly on your test document.
For more information on this feature, check out the Online Manual.
2. Parse Selected Claim Region
Alternatively, you can always force ClaimMaster to parse only the selected claim region by selecting a text region in Word with a mouse and then either pressing “Parse claims in selected text” or running the All-In-One Report.
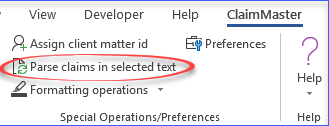
To parse claims in the selected text region, select the desired claim region in the document with your mouse/keyboard and then click on the Parse claims in selected text in the ClaimMaster tab:
In addition, you can also use the same approach when running proofreading reports. Specifically, if you select the desired claim region and then run an All-In-One Report, only claims in the selected claim region will be parsed and checked when generating the report.
For more information on this feature, check out the Online Manual.
3. Convert Auto-Numbered Claim Numbers To Text
If you use auto-numbered fields for claim numbers and have many nested paragraphs in your claims, ClaimMaster may occasionally not property detect claims in such highly nested Word structures. One way to resolve this problem is to have the software convert auto-numbered sections to plain text numbering, which will help with the claim analysis.
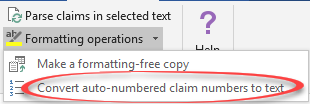
To do so, click on the Convert auto-numbered claim numbers to text button in the ClaimMaster tab.
For more information on this feature, check out the Online Manual.
4. Generate a Formatting-Free Document
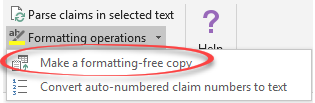
You may notice that ClaimMaster may occasionally not recognize claims or reference numbers in documents with very complex formatting, such as auto-paragraph numbers, fields, tables, formulas, etc. One way to resolve this problem is to have ClaimMaster create a formatting-free document for you, which you can then use for analysis. This command will generate a formatting-free copy of the original document (without changing the original document), so that you can try running ClaimMaster on the formatting-free version.
To create a formatting-free document, click on the Make a formatting-free copy button in the ClaimMaster tab, which will create a separate, formatting-free document.
For more information on this feature, check out the Online Manual.
If any of the above steps don’t help, please contact our support and will be happy to resolve the issue for you.